Affiliate Disclosure
Some of the links on this blog are affiliate links. This means that if you click on a link and make a purchase, I may earn a small commission—at no extra cost to you. These commissions help support the blog and allow me to continue sharing free tutorials, reviews, and resources. I only recommend products or services I genuinely believe in and think you’ll find useful. Thank you for your support!
How it began
This all started because my dear neighbor asked if I could make her a bag for bible study – she wanted it big enough to hold her study bible and her Bible Study Fellowship workbook (no small thing). At this point, I had made like two bags: one small fanny pack for my daughter, and one PUL and clear vinyl TSA approved pouch for traveling with liquids in y carry on. But I told my neighbor “Let me see what I can come up with!”
Naturally, I didn’t want to hunt and peck through the internet to find a pattern, so I went to the Waymakers Fabric Facebook group and asked if anyone had any recommendations. There were several promising options, but the Tuesday Tote with the Weekend Add-On Pack from Knotted Threads Co was the most intriguing.
I committed to the pattern, and made a test bag for myself with as many options as I could to see if I could handle it, and to give my neighbor a good idea of what she could choose from.
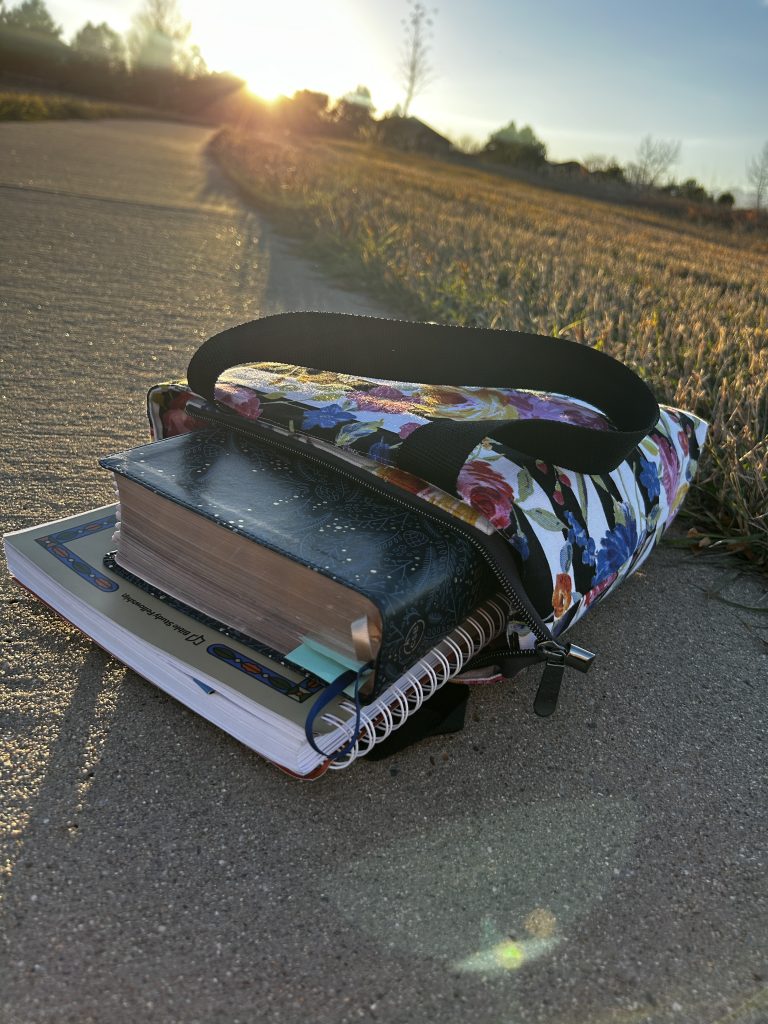
I was really pleased with how my test bag turned out! It could easily fit my study bible and my BSF workbook, so I knew it would be able to fit my neighbor’s.
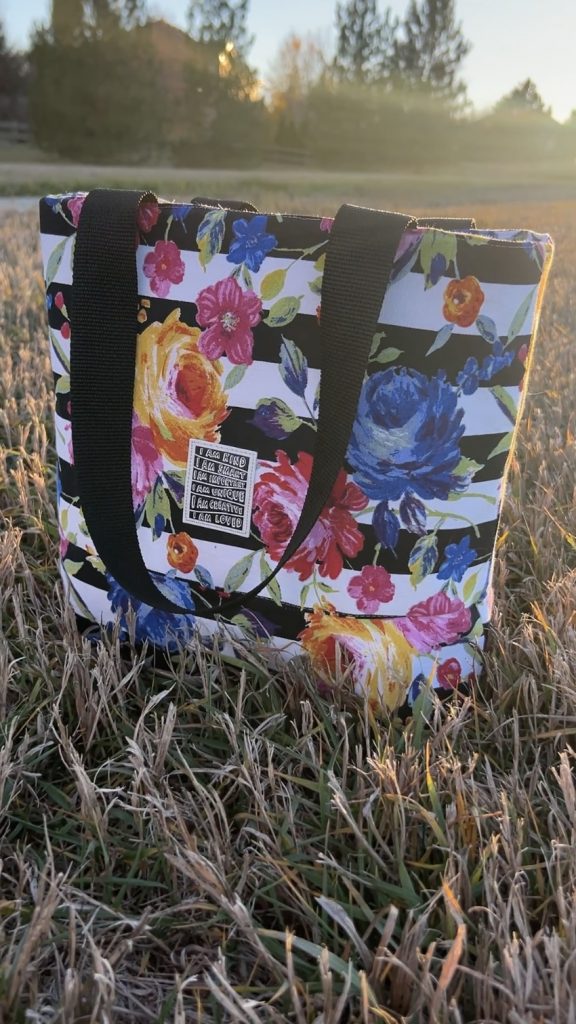
I used remnant canvas I happened to have, I think it was a clearance find from Hobby Lobby.
After seeing my bag, she requested all of the options (not that I can blame her!).
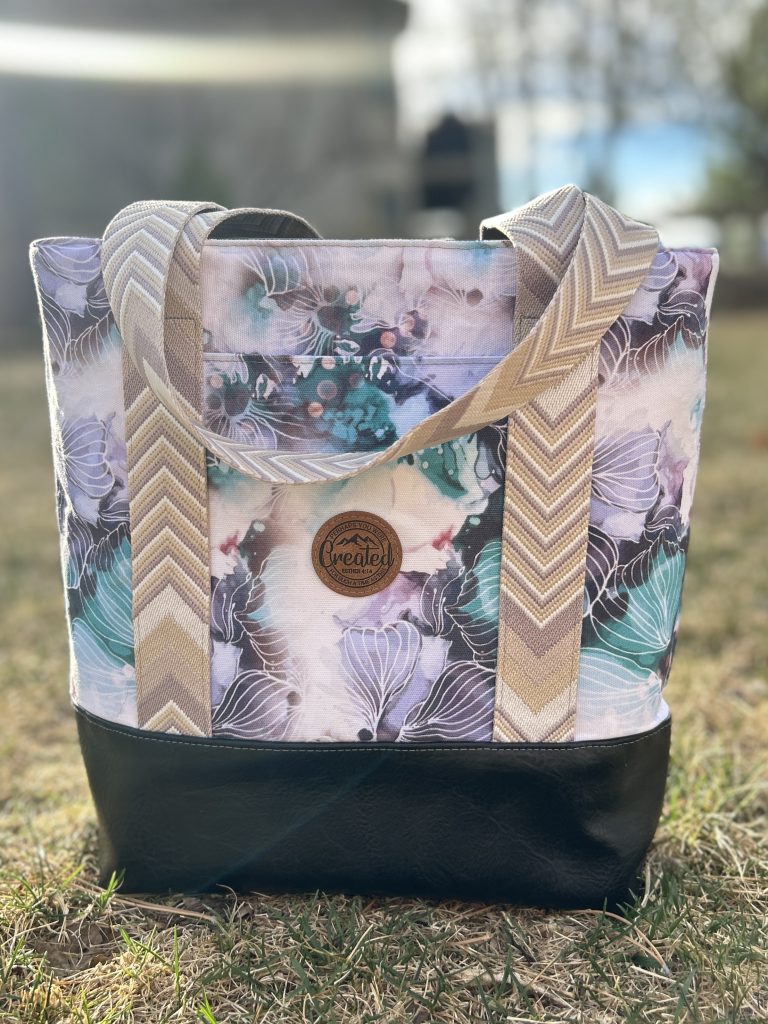
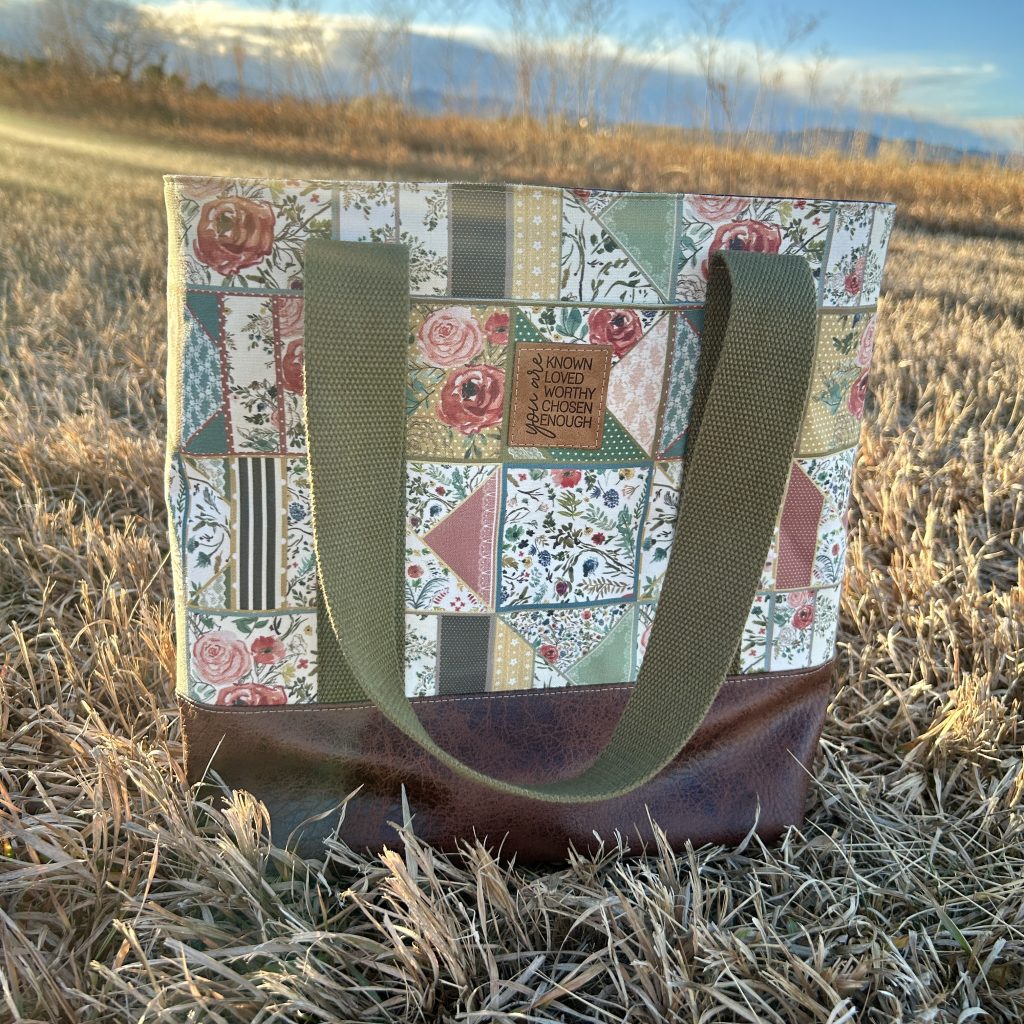
For my neighbor’s bag, I used canvas from Waymaker Fabrics for the interior and exterior, along with webbing from Wonderground Fabrics for the straps.
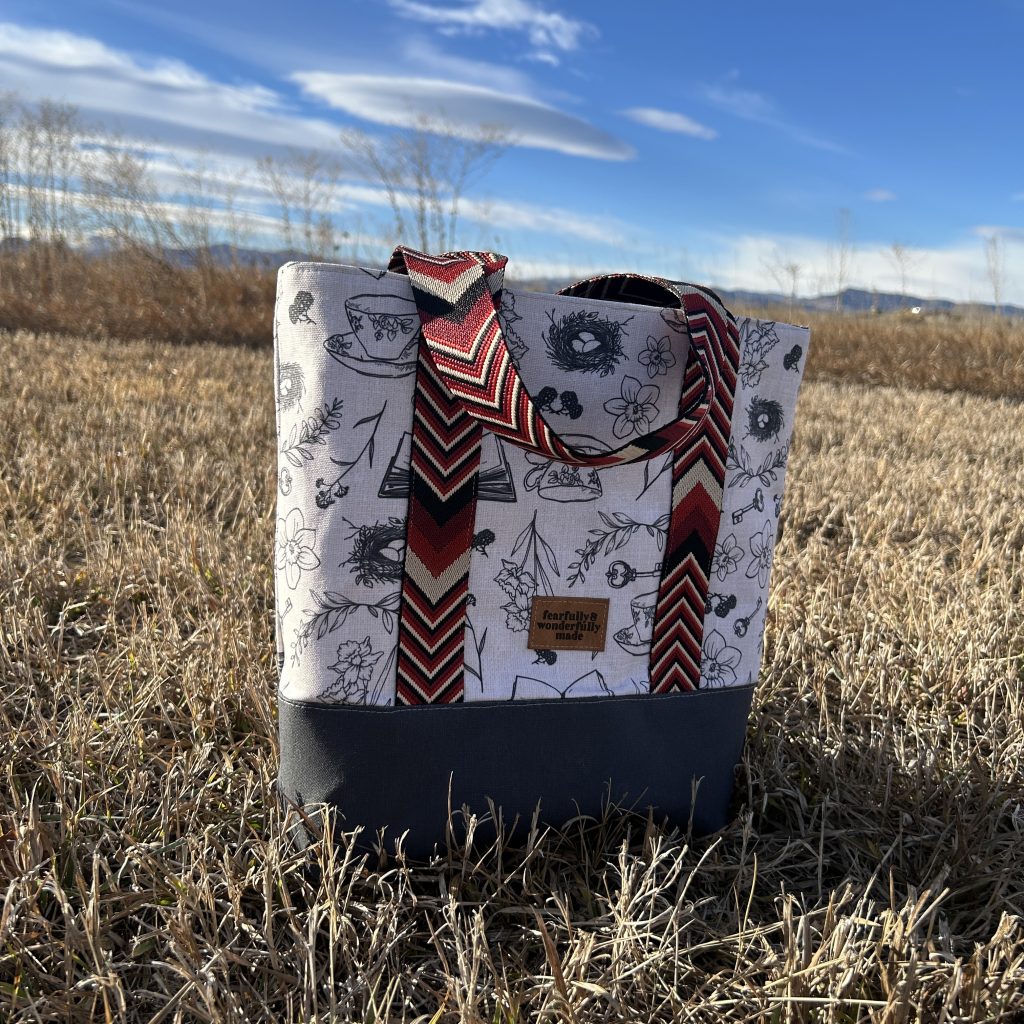
Well, it really caught fire from there. After proudly posting my achievement on Facebook, my sister-in-law and mother-in-law both requested their own Tuesday Totes, with all the options, of course!
The Options
Let’s talk about those options, shall we?
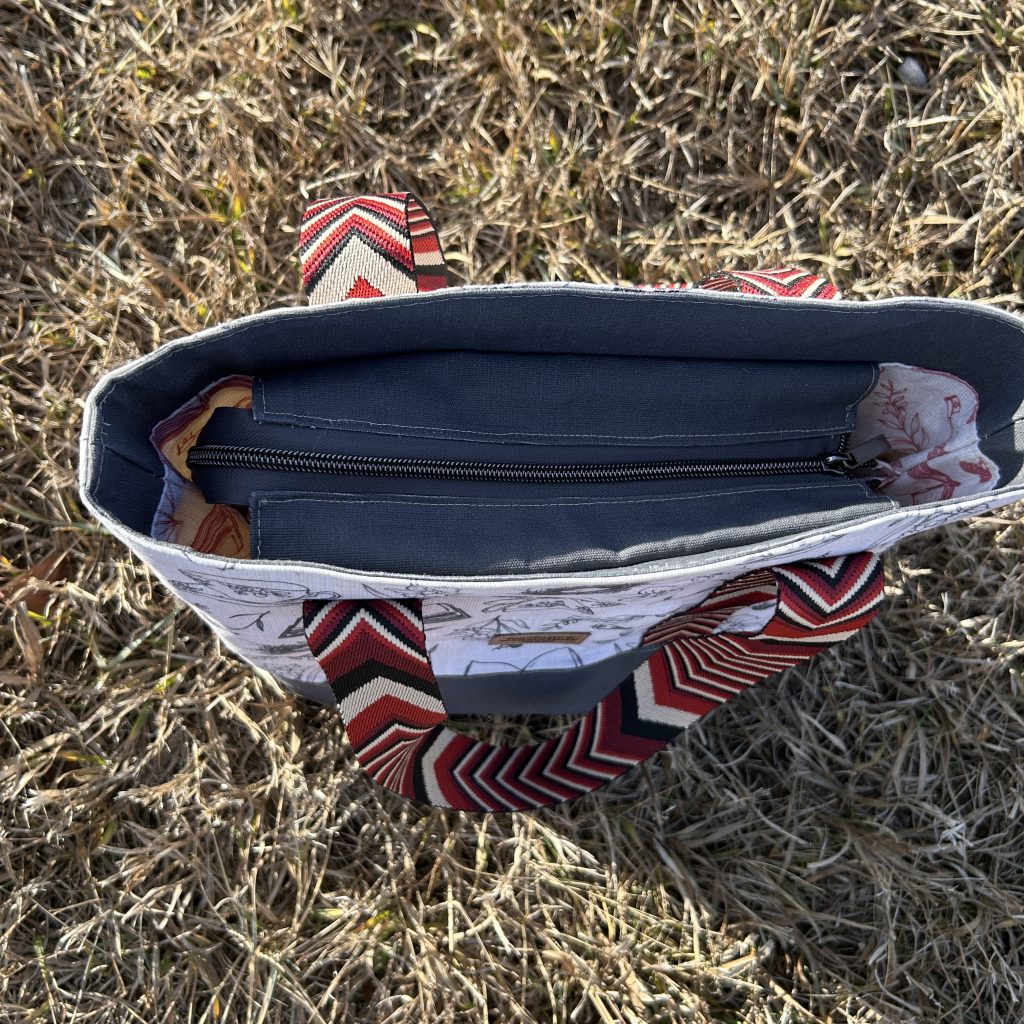
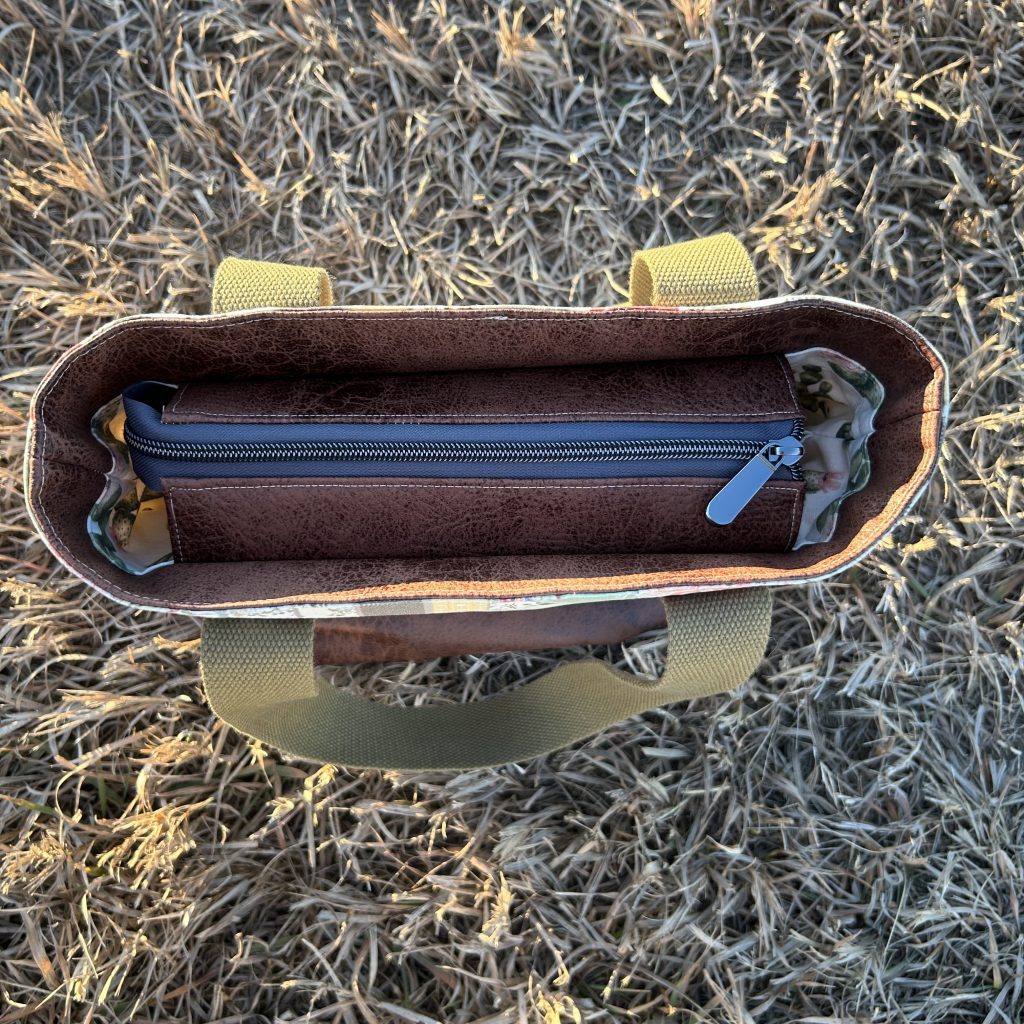
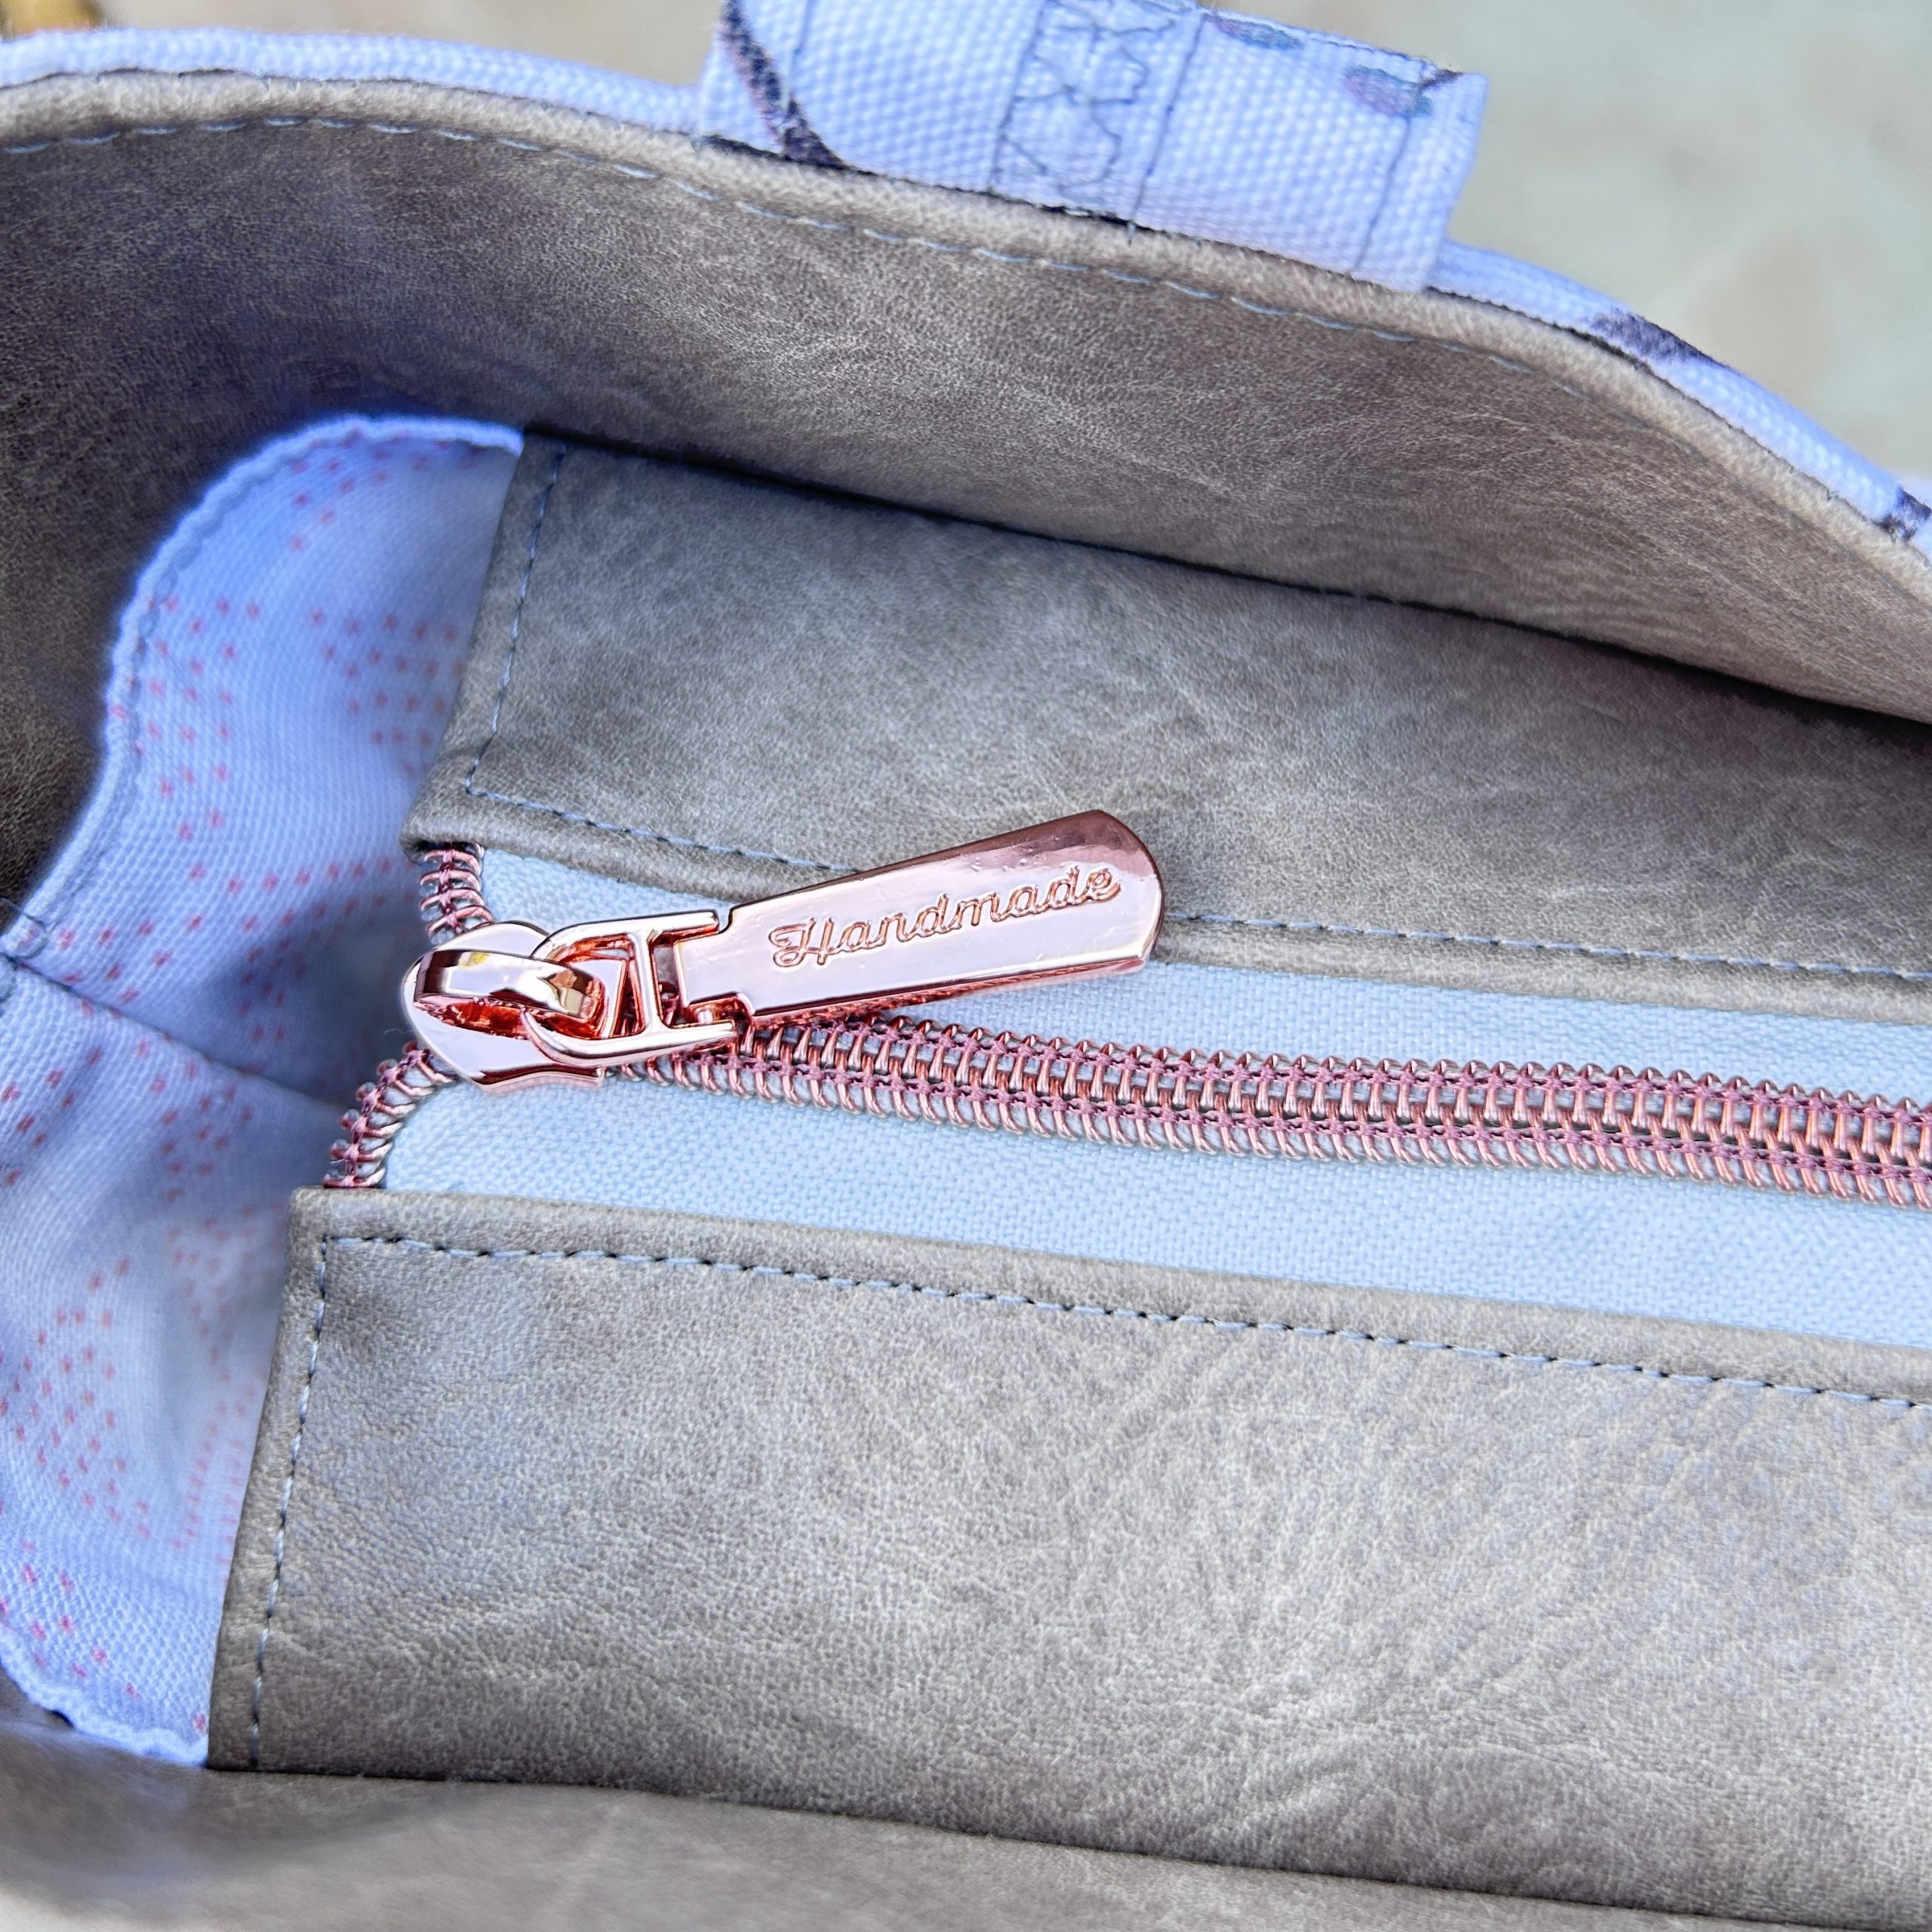
Closure: Zip Placket
The zip top closure was an absolute must for each of us. Shannon’s instructions for this feature are so clear, the photos are super helpful, and the technique yields a gorgeous result that can be applied to other projects. Absolutely a 10/10.
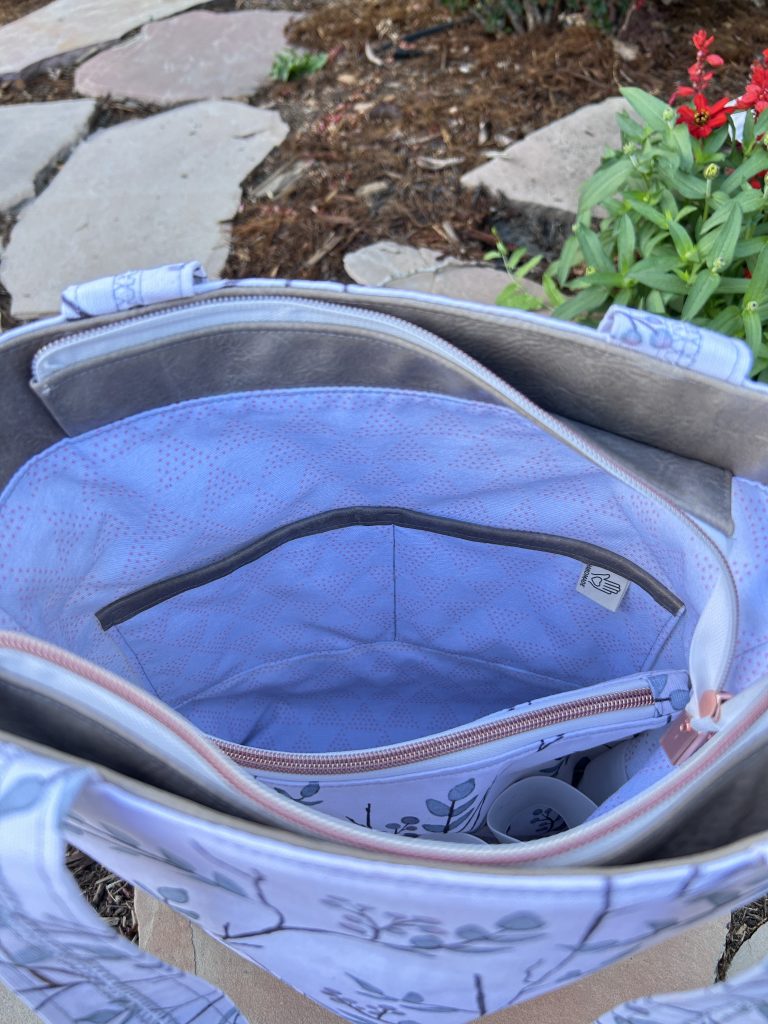
Interior Slip Pocket
The interior slip pocket is so gorgeous! It’s really simple to install, so I highly recommend it. It’s super utilitarian, but it’s also absolutely lovely. Using your accent material for the raw edge on the top of the slip pocket makes it look so elevated, and it is so easy to do!
Interior Zip Pocket
The interior zip pocket is another nice feature – but it’s also mandatory if you’re installing the center divider. And the center divider is really the piece de resistance of this awesome bag.
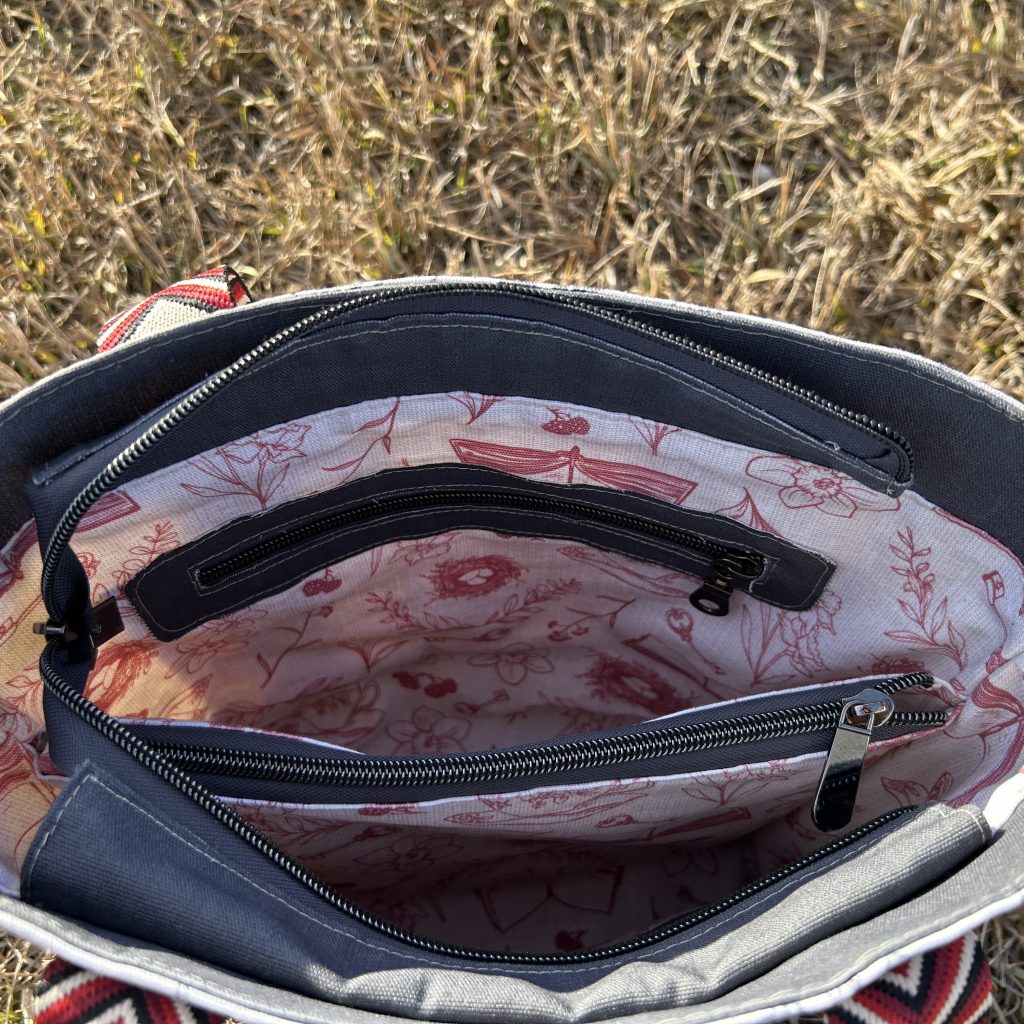
Interior Center Divider
The center divider turns this roomy tote into an organized dream. I like to keep my writing implements in the slip pocket, and so anything I’m writing on I put on that side of the center divider. On the other side I keep things I don’t want to risk ink leaking on, like my Bible or other books. I haven’t had any issues with pens leaking, but you just never know!
The center divider is really special because it is installed in the side seams and the bottom seam. So it fully divides the bag into two separate halves so nothing slides around between each side. It’s also a fully lined zip pocket, which gives you an additional option for organizing and keeping your bag functional.
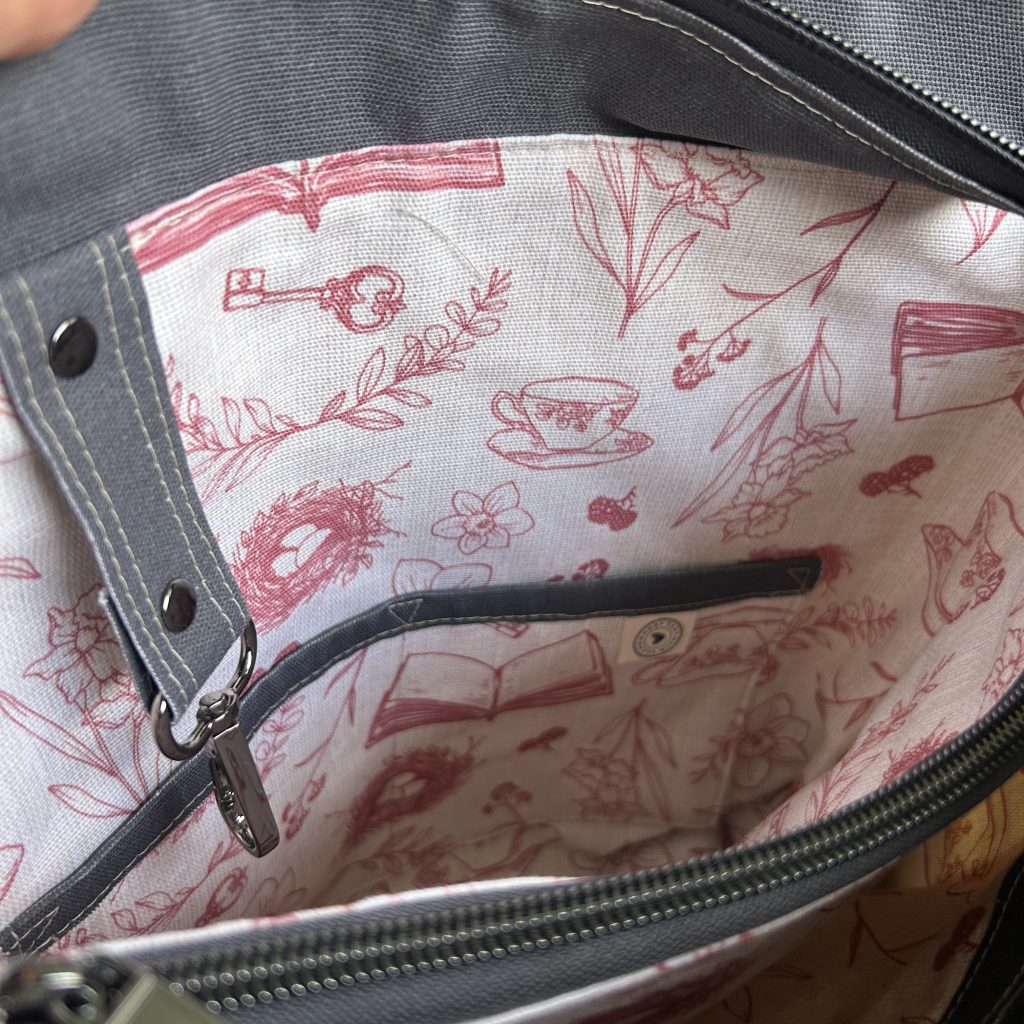
Key Ring Clip
The key ring clip is the one option I added to test it out, but I actually never use. That’s because my car has keyless start, and my front door has one of those passcode locks so I never need keys. The only key I need is my mail key, but it lives in my purse. So this is probably a super nice feature if you actually use keys, but since I don’t it was just a fun technique to learn!
Hacks
This pattern lends itself to hacks really well. I’m no bag expert, but after my first two I felt emboldened to give some things a try.
Exterior Slip Pocket
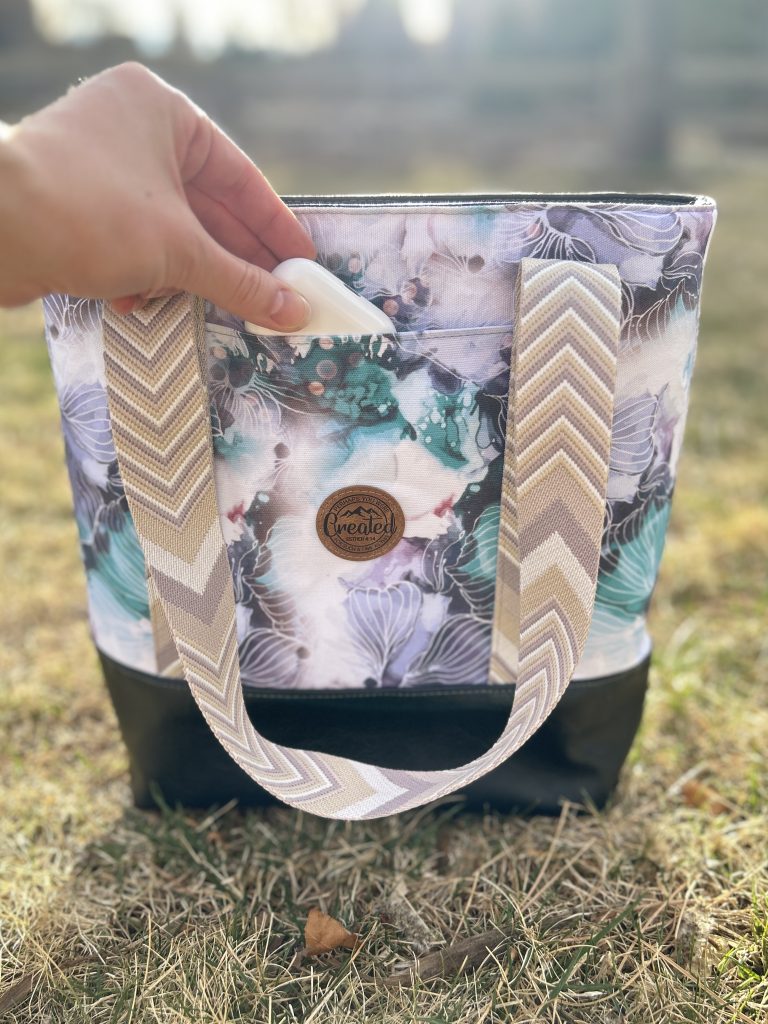
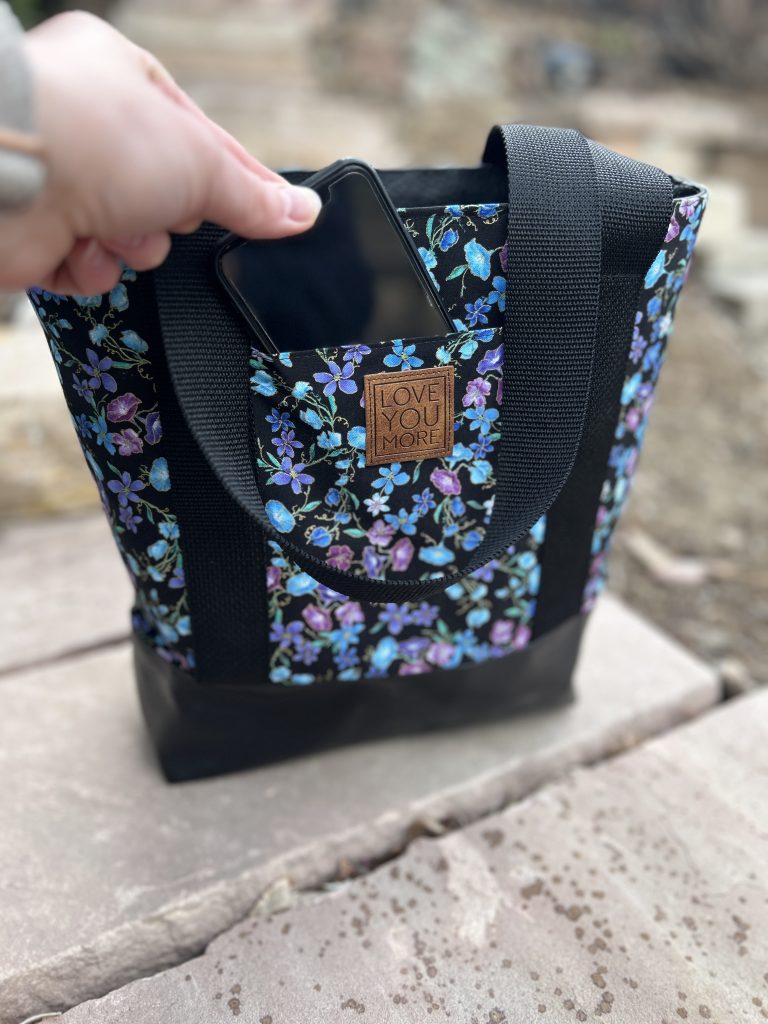
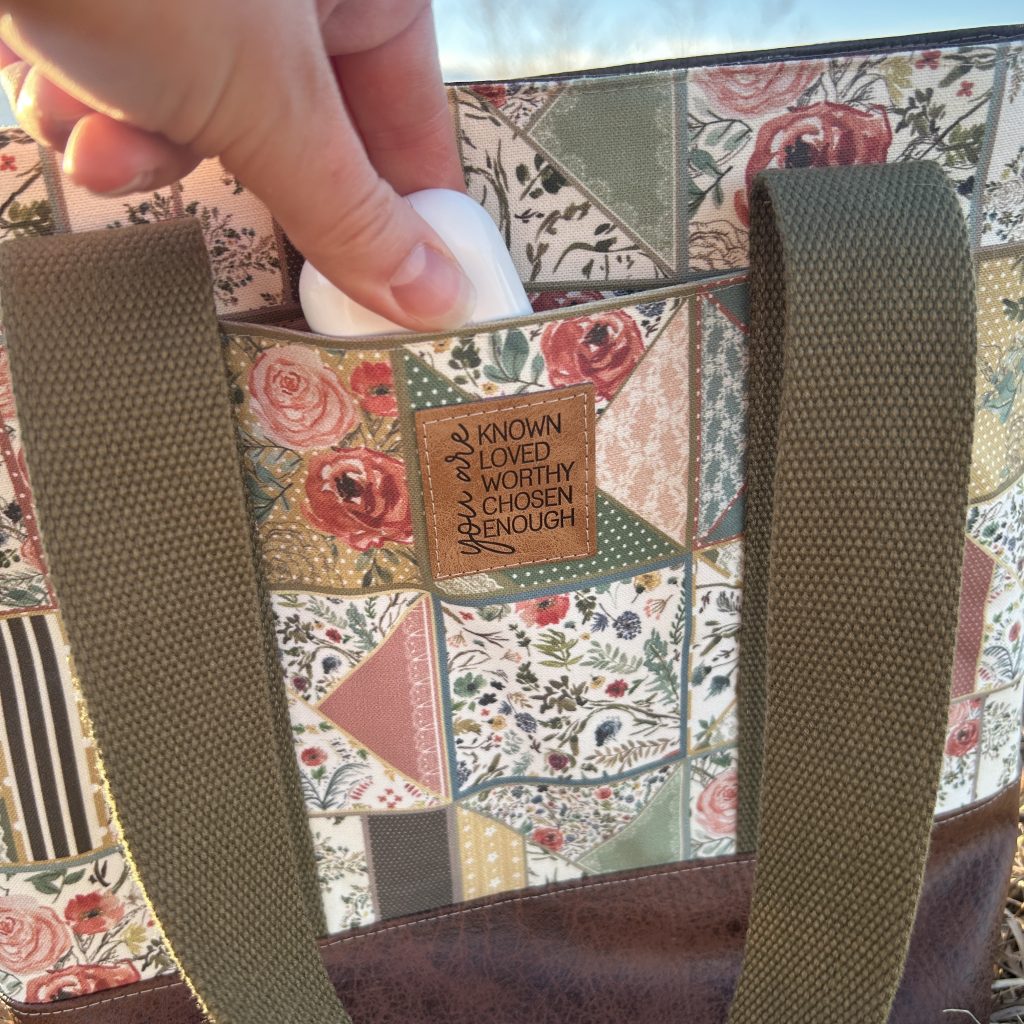
The Tuesday Tote has two exterior options: upper and lower panels, or vertical panels. With the vertical panels, the Weekend Add On pack includes an option for a slip pocket. But not for the upper and lower option. The Weekend Add On Pack does include an alternate strap method for this option, though, and I figured, why not add a slip pocket between the straps?
It works, BEAUTIFULLY! I just measured the width and height I wanted, then doubled he height to fold the pocket to make it self-lined. I topstitched the fold and made that the top of the pocket, then secured the edges under the webbing of the straps. A beautiful, functional slip pocket was the result!
Interior Water Bottle Pocket
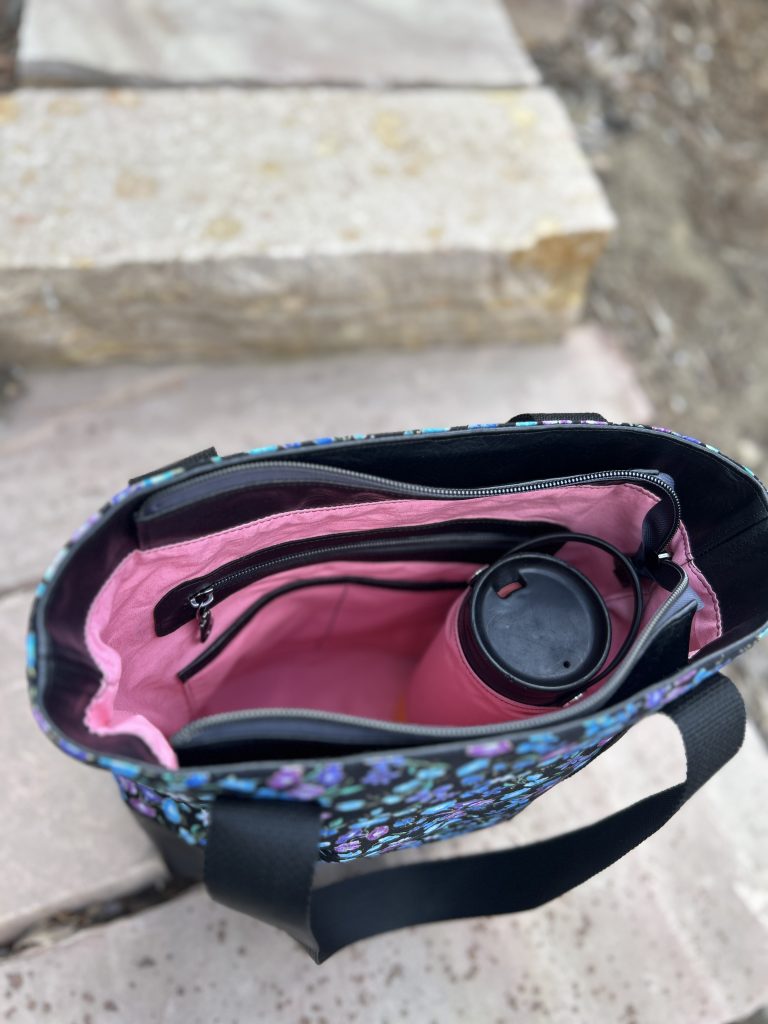
I have to admit, this only turned out so-so. My nana wanted a tote with a spot for her water bottle so it wouldn’t fall over. I got the measurements of her drinking vessel then measured out a rectangle of fabric to sew into the side seam. I wish I had taken more time to figure out a more secure option, and one that doesn’t just slide closed anytime the water bottle is removed. Perhaps I’ll revisit this another time.
Blowout Travel bag
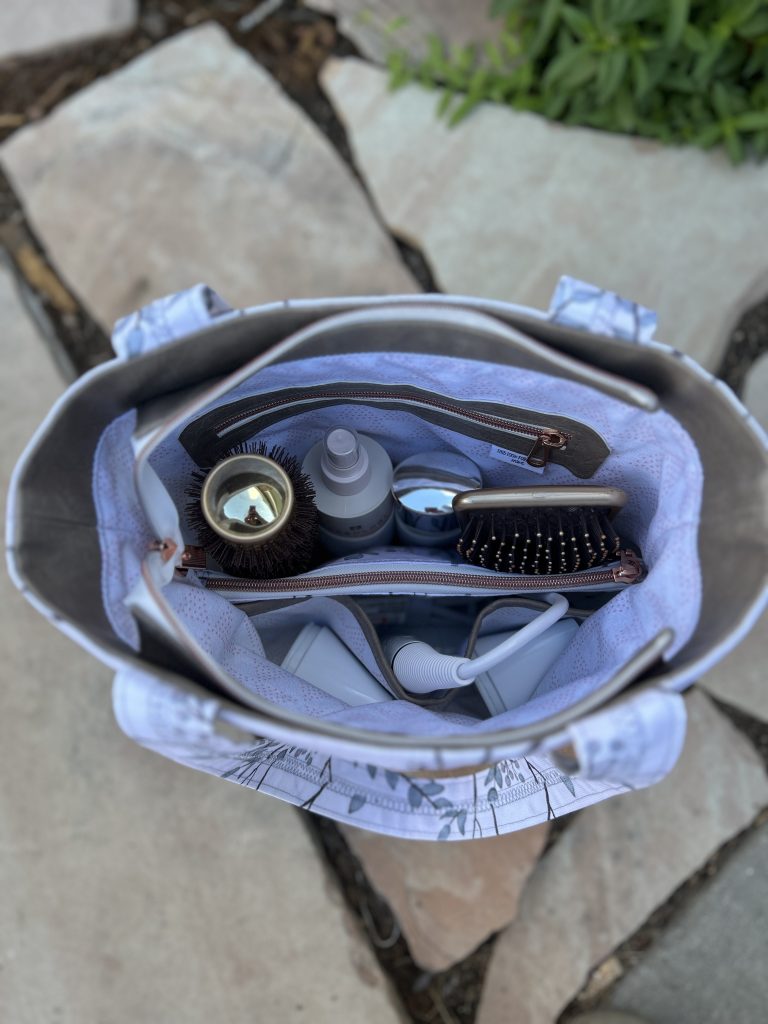
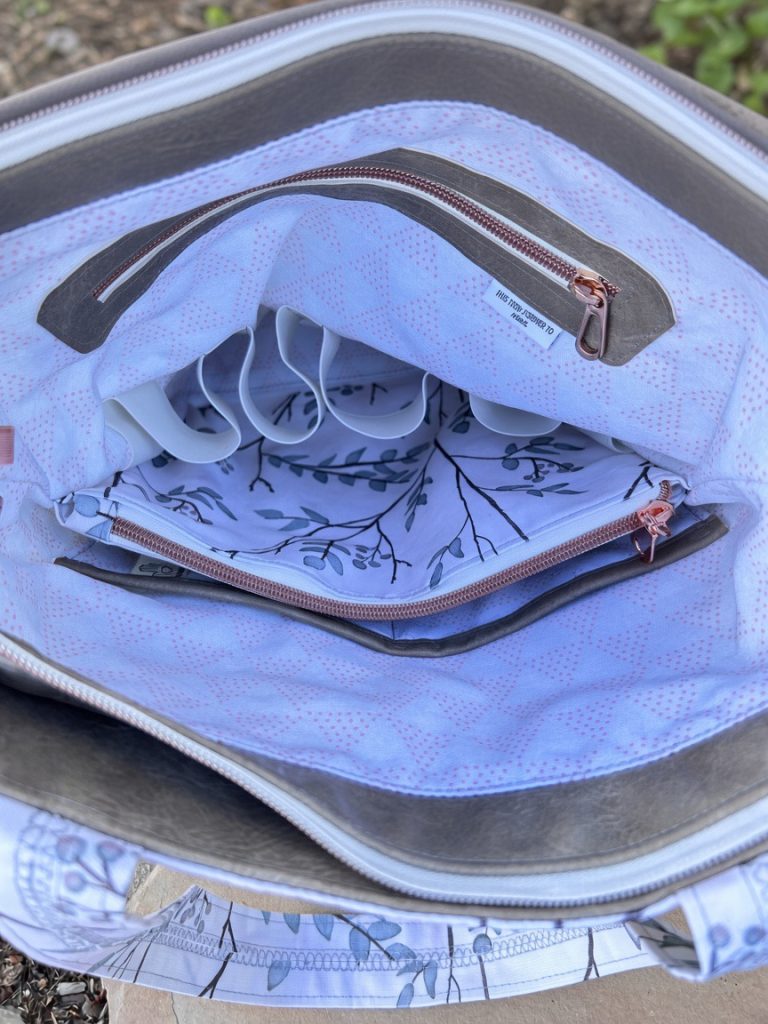
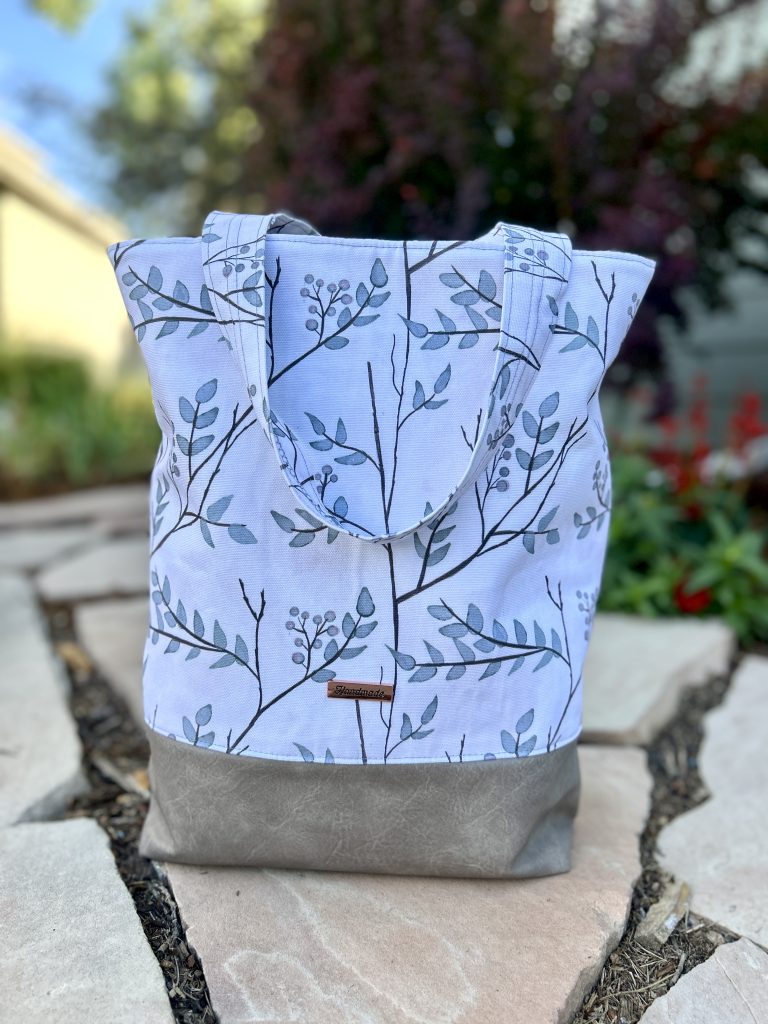
After trying to find the perfect pattern to be able to store and transport my hair dryer, blowout products, and round brush, I decided I needed to just modify the Tuesday Tote to suit my needs. I added some height to the bag to make enough room to comfortably zip the zip placket closed without smashing my hair brushes or the cord for my hair dryer. I made the interior slip pocket a little wider so I could easily slide the two different concentrator nozzles in. Then I added some elastic to the opposite side to be able to slip the products and brush in without them tipping over at random. The final result? Perfection. This custom bag game is pretty addicting!
Also, this gorgeous fabric is canvas from Waymaker Fabrics, and it is my favorite base do far for the Tuesday Tote.
Smash or pass?
Obviously this pattern is a smash for me. It’s so thoughtfully created, the instructions are incredibly thorough with high-quality pictures, and there are gorgeous YouTube tutorials you can follow along with or refer to if you prefer. Every option of the Weekend Add On Pack that I’ve tried is absolutely top notch, and eventually I need to try the other options as well!
Let me know if you’ve tried this pattern before or if I’ve convinced you to give it a go!